Just steadily making progress. Brie and I kept telling ourselves that one day this would happen, that one day the dozens of open projects would eventually, through sheer attrition, close, and that perhaps, many of these projects would close in conjunction with one another, and we would have an exponential success rate of completion. Sound pathological? These are the things you quietly repeat to yourself while clutching both temples and rocking yourself as you stare at yet another impromtu project you must begin while many others remain open.
Today, that day of exponential completion actually arrived. So many small projects came together today that I can safely say, with only a little bit of disbelief, that Bessie's bathroom is complete. So, okay, the bathroom still needs a shower fixture, some trim work, and all the plumbing piped, but from where we started, the bathroom's pretty much done.
Here's the latest...
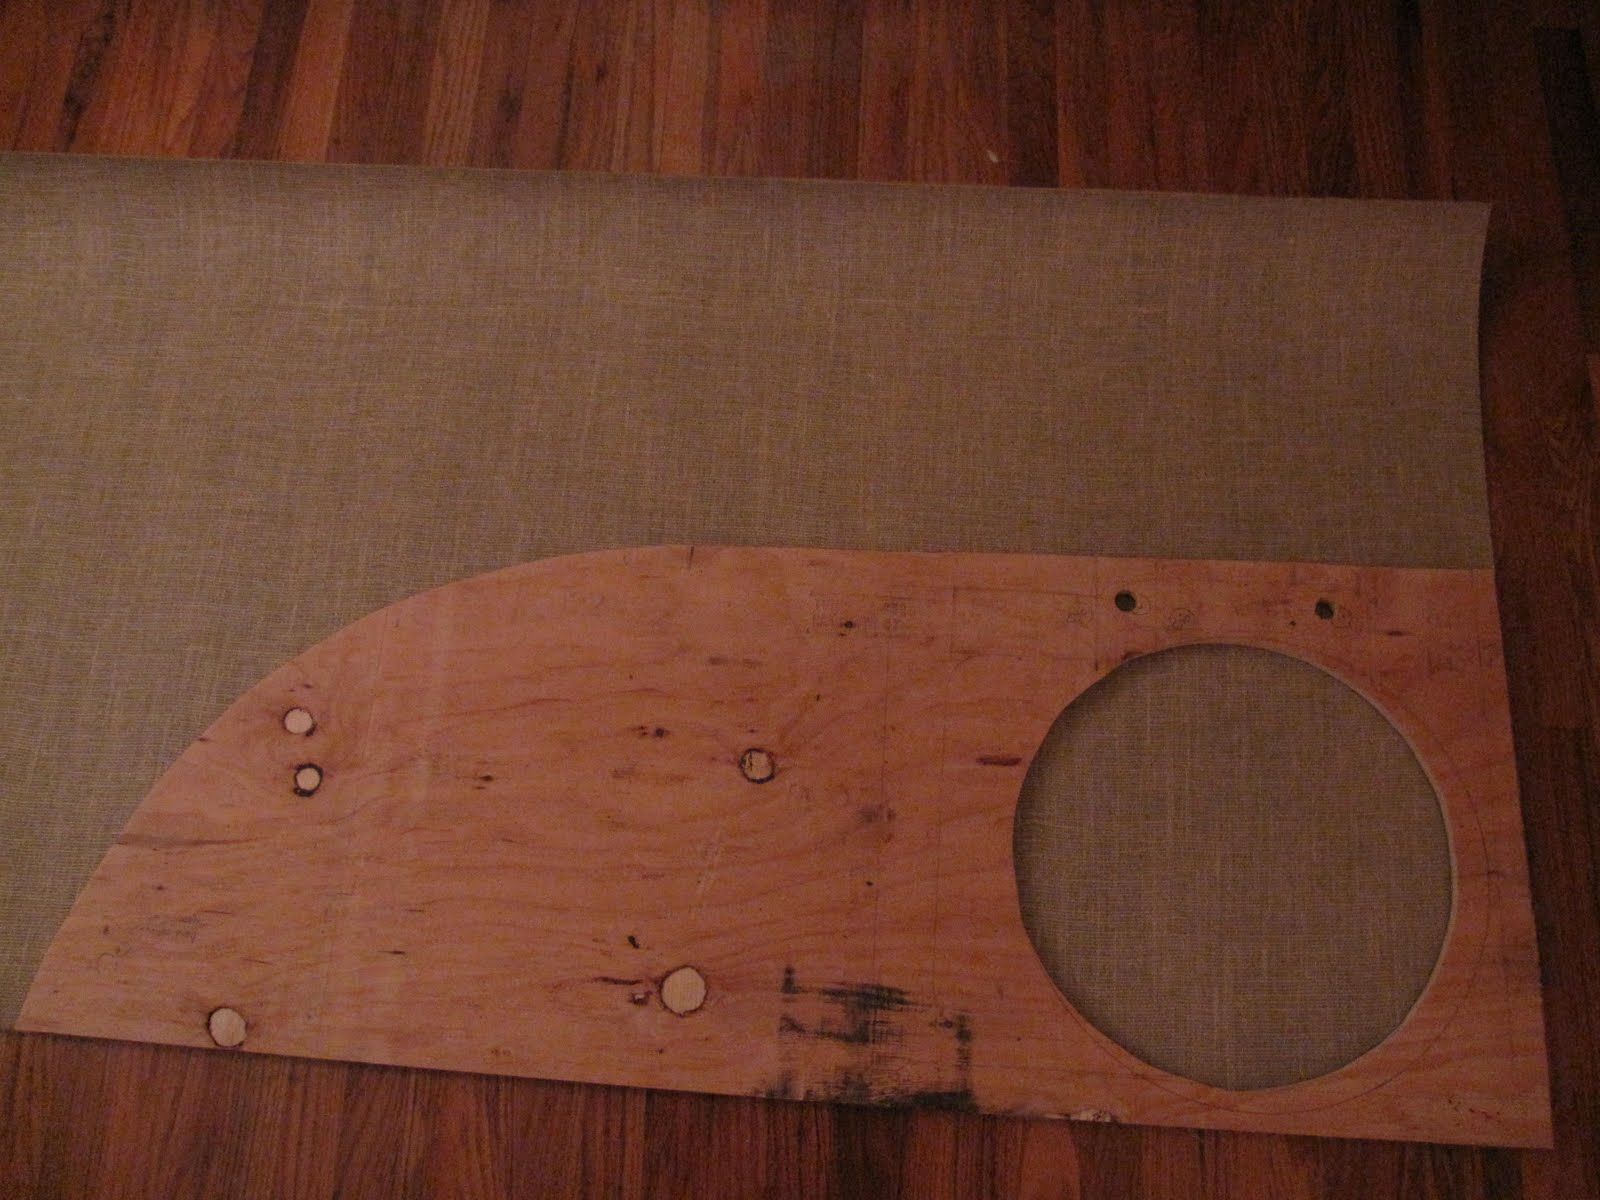 Step 1: Put your wood on the box.
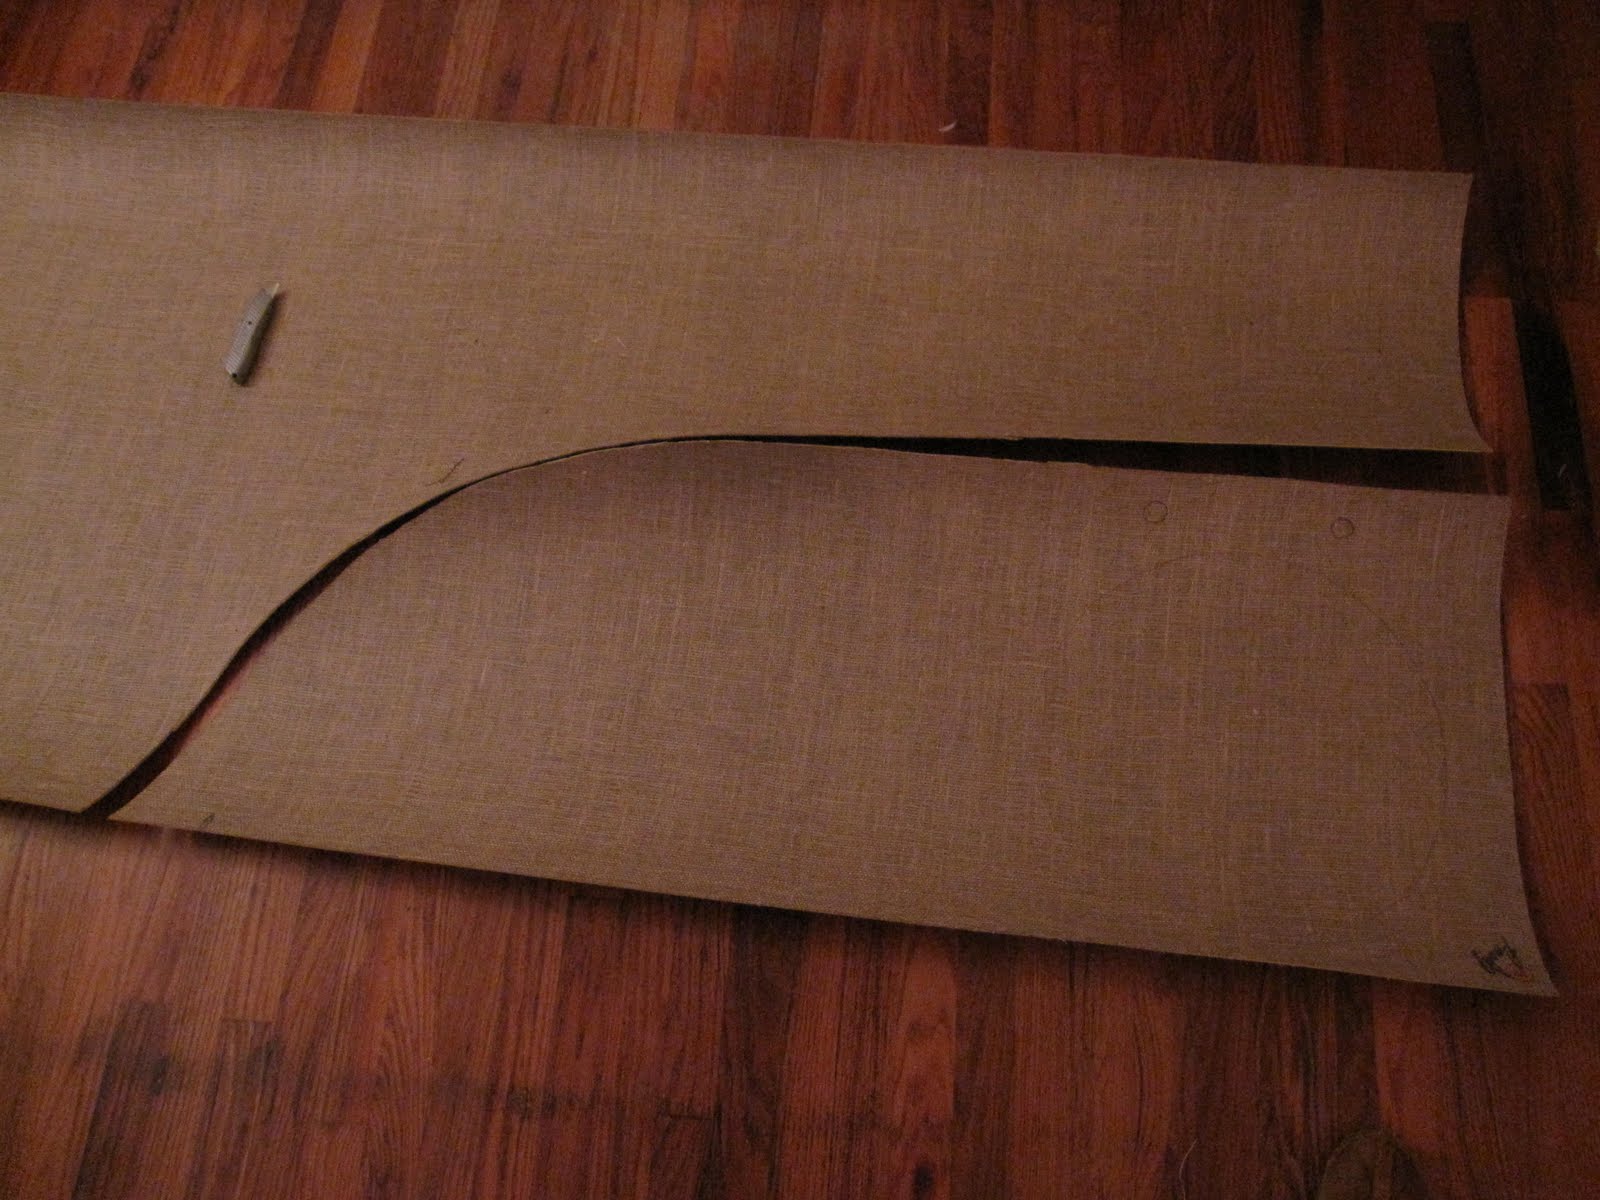 Step 2: Cut a hole in the box.
 Step 3: Then you cover that box...
"And tha-at's the wa-ay ya do it!"
Saturday Night Live reference anyone? Anyone? No? Moving on then. In real words, I cut the plywood countertop yesterday and then used it as a template to cut the marmoleum counter-top. I then glued them to each other with a special adhesive and used some spare books and magazines to weight it down while it dried.
Next step was to put it into the bathroom. The counter frame was ready to go, and so I put the faucet and sink into the holes I jigsawed yesterday, placed the marmoleum trim on the accent walls (backsplash), then drilled everything into the floor for permanent travel. Eco-friendly too. How does it look?
 We found the stainless steel sink at Ikea for the unbelievable low price of $20. Seriously? Yes. It was $6 extra dollars for the drain, which seems like a scam to me, to sell a sink without a drain, but when it costs that cheap, they can break up the items however they wish. You won't believe what Brie paid for that swan-neck faucet. They look good together yes? I can stick my whole head in that sink under the faucet and since the nozzle has two ball joints, it swivels nicely. Hmm. Insert off-colour jokes here.
 We chose the chartreuse color for the marmoleum because we thought it looked good with the bamboo flooring. Sort of the color of bamboo leaves, if you will. If you won't, well then whatever.
 Like the blingin' aluminum trim work? 5 minutes and a thimble-full of Gord's Aluminum Polish. Love that stuff. I still need to cut the bamboo floor to cover the plywood step, and then find some aluminum trim to cover the edges, but shoot. That's all work I can do in my sleep compared to what I've done. Oh yes, we are missing the top drawer, and the bottom drawer will actually be a hinged cubbyhole to maximize space.
 The coolest feature of this beautiful faucet that Brie found for $15 at a refurbishing store (Habitat for Humanity) is that it swivels 360 degrees, and reaches outside the rear window. So yes, while camping, if the rear window is open, we have running water outside if we so desire. Cool.
 So there's still a bit of detail work to do, trim work, sealant, and some finishing touches, but it feels good to walk into Bessie and see the bathroom in one piece. Whew. Can't wait to hook up the plumbing pipes.