Sunday, November 28, 2010

Swanky Lighting

Brie and I decided the best word to describe the style of fixtures we wanted to put into Bessie was ROCKETMAN!

We feel the word summarized the 50s-era style that Bessie represents, and that we are trying to recapture. So we were stoked to find these nuclear missile shaped track lights at Ikea ($15).

The wavy fixtures are the ones we purchased at Ikea and they operate on 120-volt AC system, so they will be the ones we use when we camp with hookups. That's right, ride the wave of the totally gnarly lighting.


The little spotlight not attached to the wave is the 12-volt DC light we bought from Vintage Trailer Supply (.com!). That's the light I use when I work in the dark, which happens now shortly after noon. The lights match in style and shade of brushed stainless steel so it's a no-brainer. I was surprised how many choices of style of brushed metal there are.


And that's the end of the Swanky Lighting post. T minus 10 seconds to Blast Off.

Countertop Edging - Kitchen and Bath

If you remember our last maniacal efforts with the elders, the kitchen countertop was replaced and the sink and stove were cleaned. The old kitchen faucet was junked since it wasn't clear if it could stop water from leaking, so this is where we left it...


It is now time to install the fabulous 50s-era aluminum counter edging to the kitchen and bathroom counters. These are T-molding fittings, so you first draw your line...


Then you route your line. I should have used a router. I was too cheap to rent the router ($20) and buy the required 1/8" routing bit ($25) to complete the job so I decided to get creative. Yes, this was a shitty idea.

I managed to "route" the hole by (1) burning out the motor in my handheld dremel tool (damage and potential cost not yet determined) and (2) burning through the 5 routing disks that I bought for this purpose ($10).

It was clear the dremel was too weak-sauce to accomplish the task, so I moved onto the hand-held skill saw as it has a 1/8" thick blade. I did a decent job in the kitchen...


Below is a photo showing the fit of the edging once the rut was routed for the T-fitting. I first have to measure where to bend the edging. Also shows the "sledgehammer" that I brought to the "surgery".


Once measured, the edging was cut to size and notched in the appropriate places to bend at 90 degrees around the counter.


The kitchen turned out okay. The blue on the aluminum is the protective plastic film. Soon, the unveiling!


And after the edging was done, I added the new kitchen faucet. His name is like Sveldik or something else Swedish. Yes, of course it's Ikea! And like most Ikea items, it's classy, inexpensive, and easy to assemble. I still don't understand how they DO that! Will someone please teach the American manufacturers? It would help the economy big time.

Yeah, the bent angle around the corner isn't perfect, but trust me - unless you have a macro lens looking straight at the corner at eye-level you really don't notice.


The final product. New countertop, new faucet, new edging and all!


And the sink protectors to enable more countertop space when not using the sink.


And that's about all. I'm pretty happy I even got around to working over Thanksgiving weekend - so much sloth!

Wednesday, November 24, 2010

Snow Day!


When out on the lawn there arose such a clatter,
I sprang from the bed to see what was the matter.
Away to the window I flew like a flash,
Tore open the shutters and threw up the sash.
The moon on the breast of the new-fallen snow,
Gave the lustre of mid-day to objects below.


A full moon in the sky and snow still falling is
winter night's answer to a summer rainbow.


Snow in the Oregon Valley! Much like the above excerpt from "Twas the Night Before Christmas" we were just hanging out when we heard this huge muffled plompf.

We thought some of the materials in the staging area might have blown over in the wind so we opened the door to check and were stunned to see a layer of snow covering everything in sight! Did it all fall at once? Was that what we heard?

Plompf, here's your snow!

Snow on rosemary?

So we played in it! We helped the neighbor kids make some snowballs and wrote each other's names in the street...

See the happy face?

The next morning was damage assessment in the staging area. The swirling wind allowed the snowflakes to drift everywhere. The entire staging area under the carport was covered in snow.

Among those freshly dusted are the finished wood pieces I lovingly placed out of reach from the rain,


the ever-so-important shop-vac (soooo in love with you, shop-vac), some unfinished stained glass, and countless other sundries.


Below is a good shot of the staging area from the backyard. That random piece of fence lends a little Western attitude to the snow doesn't it? Yep, we're rugged individualists.


The snow stayed all day. In fact it snowed all day. Swirls of gentle flakes drifting down from the sky. It felt like the inside of a snow-globe.

The snow was powdery - very unlike the characteristic wet snow we get here. f course, we only get that characteristic wet snow ON THE MOUNTAINS but I'm not complaining. It was a winter wonderland of a quaint Oregon town.

Our neighbors heat their house with a wood stove so every time we walk outside it smells like the most clean-burning campfire. Total hot chocolate craving.

Below is another night-time photo of Bessie in the snow. Thankfully all of the panels are freshly sealed and waterproof!


The next photo is one of my favorites. It may be hard to see depending on your screen since it's a night-time silhouette (Seriously, who takes pics like that? Moi l'artiste, that's who punk!).

She's lit by the moon with a layer of snow on top. With that twinkle of green light in her eye she looks like a spaceship, doesn't she?

(Dammit Jim, I'm an Airstream not a spaceship!)


Also among my favorites is the next one. A closer view shows a couple of interesting details.

1) Not only does Bessie wear her snow like a crown but in the reflection off her window - her street view - you can see her towing partner, Battlecat. In the snow, Battlecat looks like a white van but she's a 3/4 ton golden F-150 with 10 tons of heart.

2) In the top right corner of the photo you can see her solar panel smothered in snow. Follow the wiring on the blue column if you can't see the solar panel on the roof. Clearly one disadvantage of solar power is a blanket of snow.


And one final shot of the happy Oregon home where all the love and magic happens!


Did I mention I didn't go to work today?

Wednesday, November 10, 2010

The Kitchen Counter

A.K.A. Getting Down and Dirty with La Famille

Late autumn brought more than just beautiful leaves, it brought a welcome visit from family. Since they follow the blog and listen to endless Bessie stories on the phone, my parents were not content to merely sit around over their weekend stay. They were eager to get involved in the restoration.

Not ones to turn away free (captive) labor, Brie and I decided the best use of everyone's time and effort would be to tackle the kitchen counter. The plan is simple: replace the formica counter top with Marmoleum, an upgrade in both function and style. Like most Airstream projects, this simple task requires many preliminary steps: removing the kitchen sink and stove top in order to remove the formica, for example. Guess how many screws, nuts, and bolts that involves? Get ready for an avalanche of photos, here we go!

The Kitchen Counter

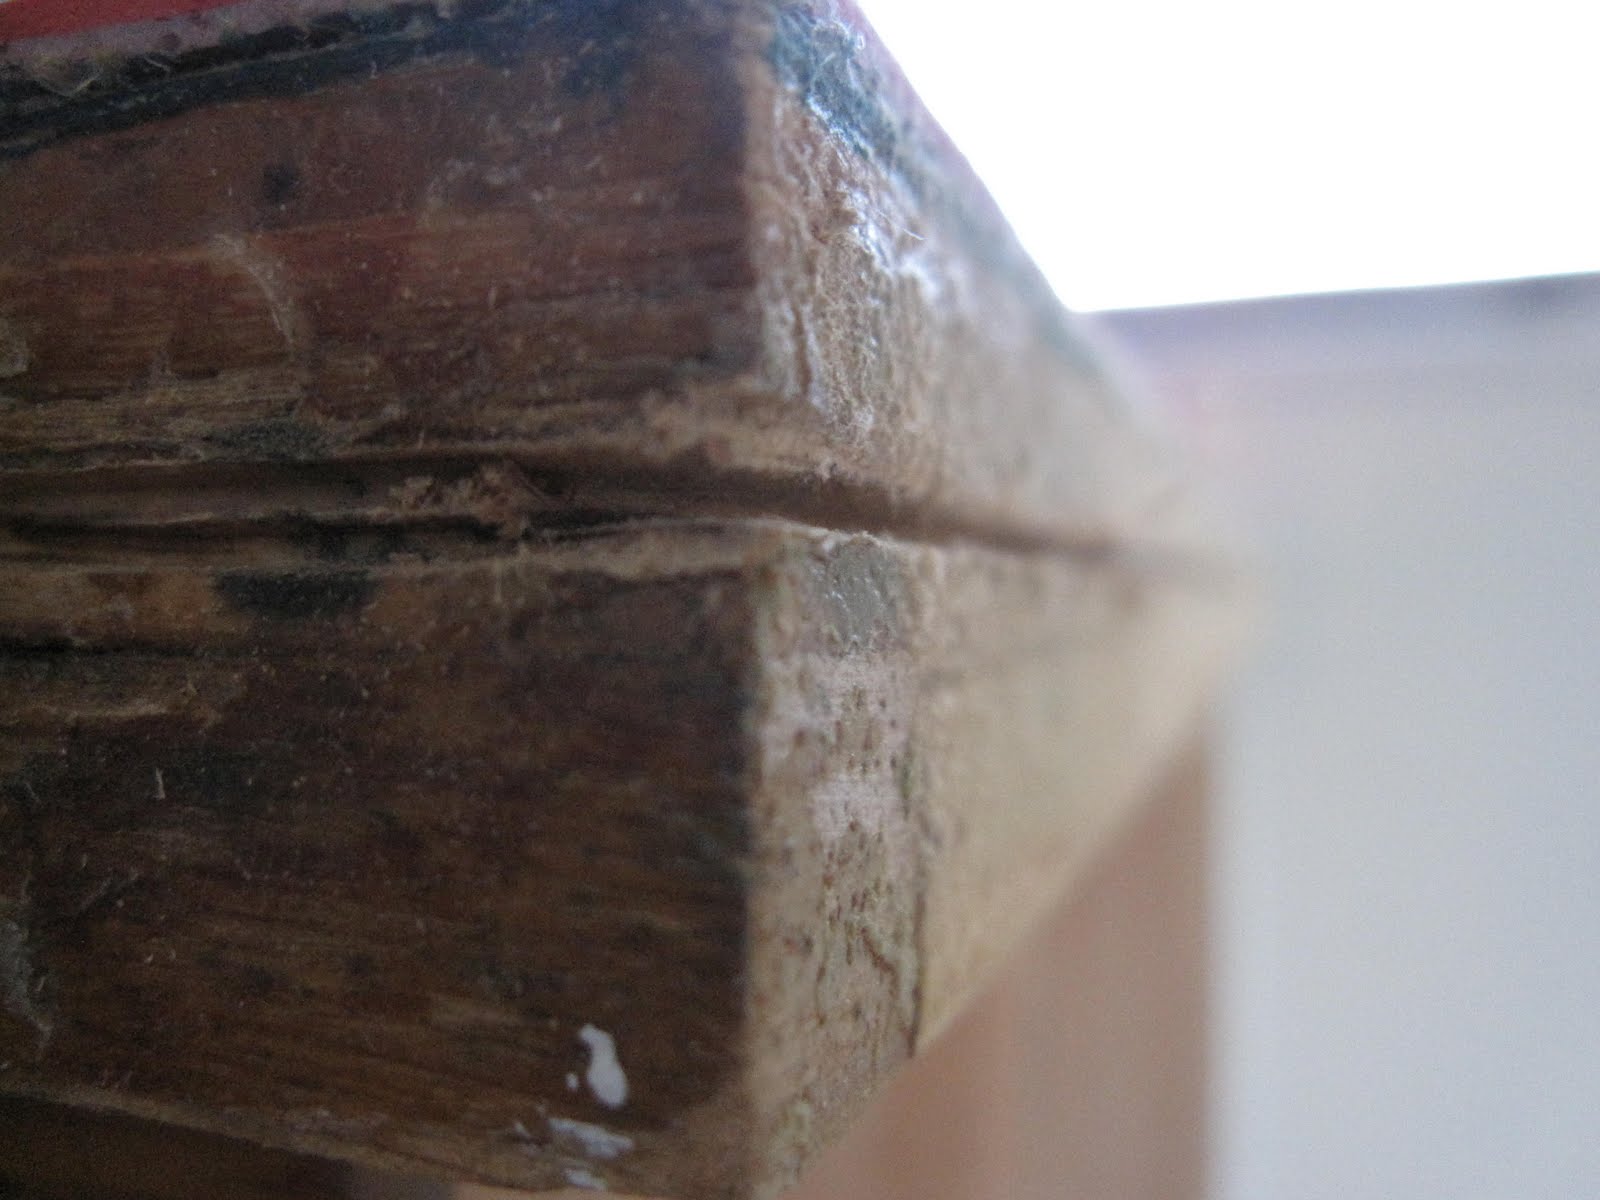
The day begins by carefully removing the stove top and sink. We had no idea how the sink was attached. And we had no idea if the counter top itself was worth salvaging. Lots of evidence of superficial water damage along the aluminum wall - perhaps the wood is rotten... Can you see all the fallen leaves?


The stovetop pulled right off. Below is a photo showing how the stove was covered in aluminum foil. I suppose this precaution was to protect the original metal from grease stains over the years. I think it was a good idea, cuz it's dirty.


Next Dad and I pulled the sink out. Since the trailer isn't huge, Mom worked outside priming some pieces of wood that I forgot to prime. Meanwhile Dad and I deconstructed the sink-to-countertop attachments circa 1959. We took precautions to save the nuts and bolts. Who knows if they even make these designs anymore. Look, no more sink!


Next step, remove the formica, and cross our fingers the wooden countertop is salvageable. We pried the formica off the counter with a large flathead screwdriver and a claw hammer. It just popped right up, and thankfully the wood beneath was in great shape!


After she finished priming the wood outside, Mom found the kitchen sink abandoned and strewn on the lawn outside Bessie. she picked it up and started working her cleaning magic.


She has skills.


With the sink out of the counter, I focused on cleaning the bottom of the stove - the part still embedded in the counter. I removed the aluminum foil and found the interior metal to be dingy, dirty, and caked with grease. It could have been much worse.


See, the wood looks okay. I chose to keep the clean up simple - I don't like to use heavy chemicals unless they are necessary so I used water and Dr. Bronner's soap. I know, I'm totally a hippie, but that and a simple kitchen sponge scrubbed off the decades of dirt.


Meanwhile Dad shined up the gas burners. In the photo below, that's not the camera flash that makes the new burner look that good. It's the skills.


See? Shiny!


I like the shot below. I work all day at those saw horses during "Bessie weekends", so it's funny to see my Mom there instead! Yeah, I know I have to fix the torn tint in that window, but what a cool shot! Finished work in the foreground, the saw-horses where all the carpentry happens in the staging area, the autumn leaves in the background, and Mom busy at work!


She looks at home on the saw horse, although it must be decades since I've seen her working on one!


Dad started putting the burners back into the stove.


So I started cutting the Marmoleum down to size. I used a utility knife, a Sharpie, and a measuring tape. It's so easy to work with this stuff. Eco-friendly too? I'm sold. I'll let you know how it holds up to wear and tear, but I hear it's as tough as it is purty.
(Yeah I know I'm not stylin', but those are my work jeans!)


Looks like the inital cut fits...


Looks like the second cut fits the sink...


And the next cut gives us a place to put the stove. Can you see the late sunlight? The day's getting long.


The glue goes on pretty easily. Especially when you have help to keep the Marmoleum out of it.


Here comes the instant gratification. The color! (no, we didn't use Nancy's yogurt to glue the Marmoleum down. It's not that eco-friendly!)


Sometimes, you have to sacrifice your body for the team. Here's Dad, a little stuck.


A little more trim work on the large cuts and we are ready to drop the sink back into the counter.


When putting it all back together, remember not to skip any steps. Water damage can be irreparable, so make sure you prevent it wherever you can.


The sink takes twelve, yes twelve, different nut-and-bolt clamps to stay in place. As the twilight faded into night we took turns holding the light for Dad as he performed yoga to put the clamps into place.


Whew. Is it done? Time for pizza and beer.

Here is the before-and-after pair...
(oops forgot to remove the old formica sink cover for the "after" shot)


As my Dad so aptly phrased it, the four of us spent all day working so that we could essentially change the color of the countertop. Sigh. Such is the way of the restoration artist.

Mom and Dad, Brie and I can't thank you enough for helping us finish the kitchen counter. There were so many steps that happened all in one day, it would have taken us at least two weekends or more to deal with all the fiddly steps and clean everything up the way you did. You saved us so much labor, so much time, and working next to you was so much fun. Thanks for spending the time to hang out and help make Bessie beautiful!

A world of thanks to you both!